Getting Started - Audio
Audio production is a conversation
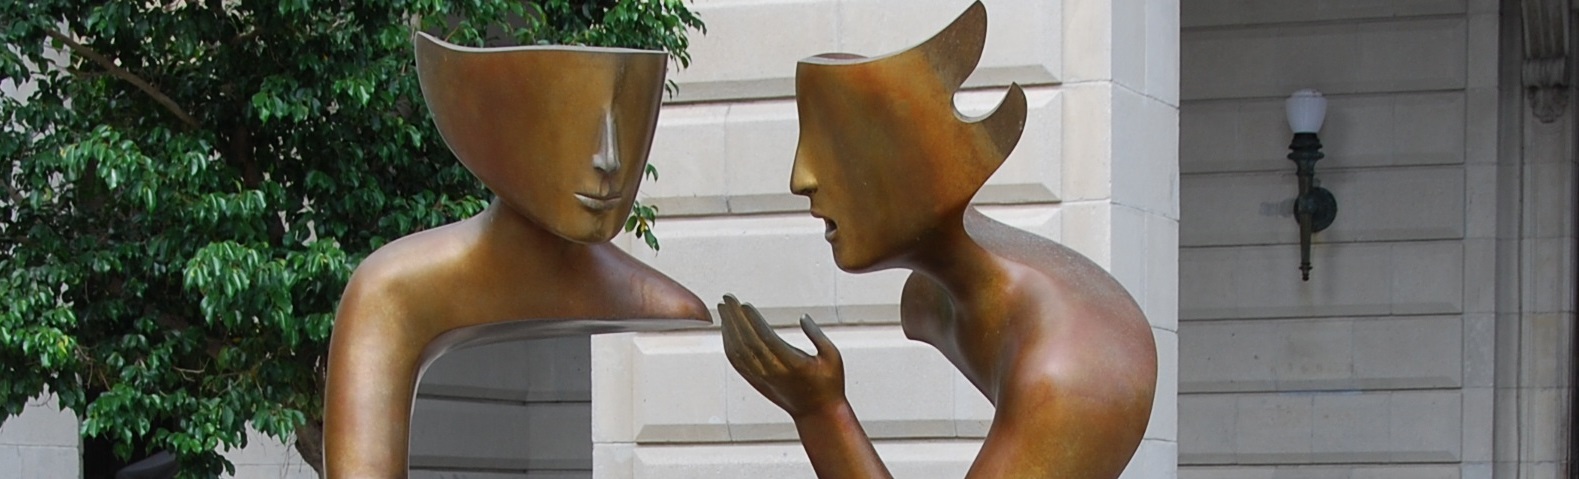
The problem is that one side of the conversation is your audience, and you can't talk to them directly. In order for you and your audience to have a great conversation (ie. the audience enjoys listening to your audio recording), you have to plan carefully and create the conversation all on your end.
By breaking this creation process down into a series of steps, you will be able to create engaging and interesting recordings.
- Design the conversation - Choose your topic, research it, consider what your audience wants or needs to hear, write and edit questions for interviews, etc.
- Create the conversation - Select the best available equipment, find a location, gather your guests, record.
- Edit the conversation - Utilize computer tools to improve the sound, add music and sound effects, export the final file, etc.
1. Design (pre-production)
In the design stage of creating your audio, you decide what on the topics and how to address them, draft questions for people you're interviewing, draft a script, choose the equipment you will need, etc.
Here are some important parts of the Design stage:
- Outlining - Creating an outline of the topics and ideas that you want to cover in your audio recording helps to keep you on track throughout the process.
- Download an outline template here

- Create interview questions - Creating interview questions is an important part of the design process. Draft more questions than you think you will need. You can then read through them and get rid of the questions that aren't necessary, aren't well worded, etc.
- Download a template to help you plan for an interview
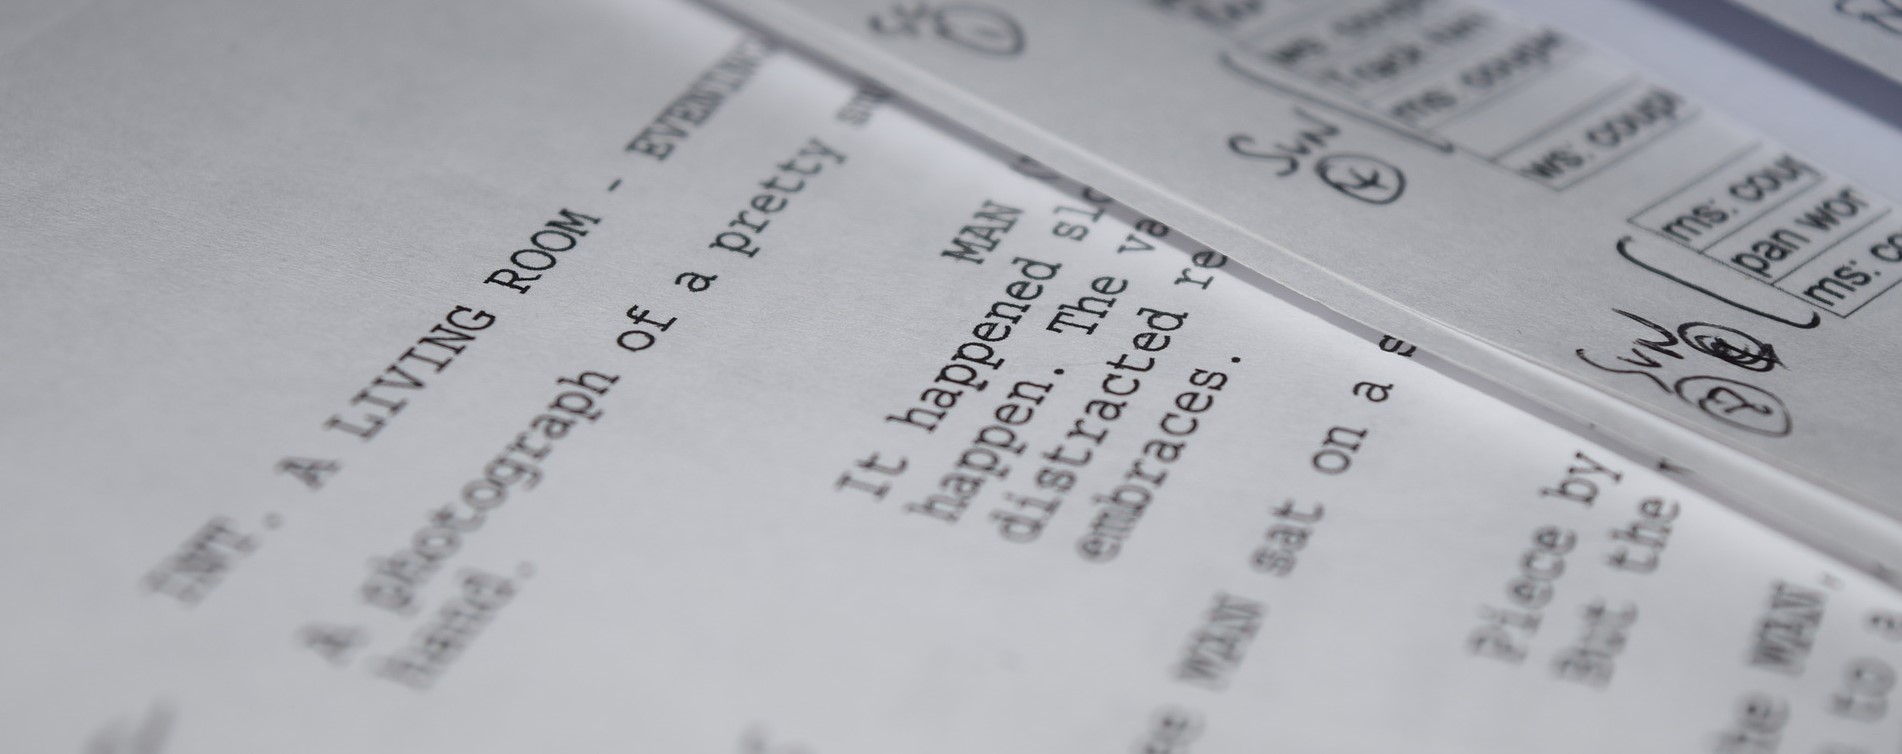
- Write a script - No matter how many people are speaking, a script helps to reduce verbal clutter and keeps the speaker on topic.
- A helpful script writing guide from the CDC (oddly enough). Provides useful tips and steps to writing and using a script.
2. Create (production)
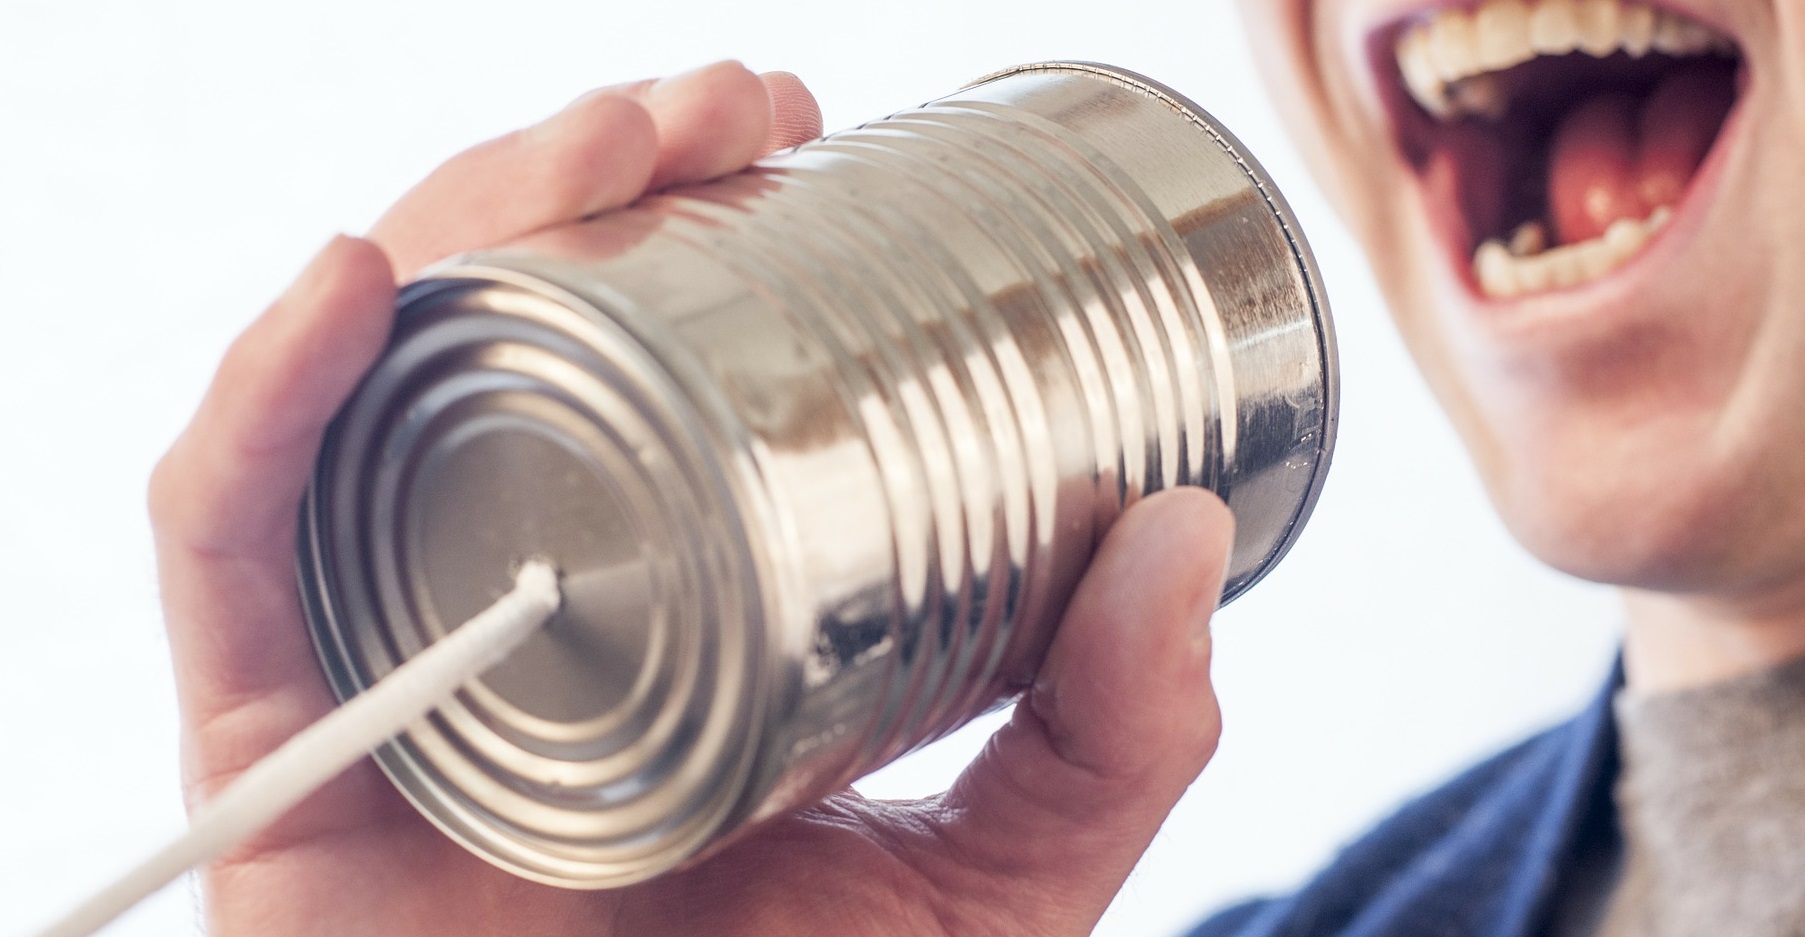
This is where you create the recordings. At this stage, you can gather your guests, pick up equipment from the DMS or reserve studio time with us, and go record. This may be an awkward and new activity for many of you, and below are some things to keep in mind during this process.
- Use an external microphone. The microphone in cameras and smartphones will not capture audio at a high enough quality for a podcast or audio production.
- Record in a quiet space. If the walls and floors are hard and flat, lay down carpets and hang blankets to reduce noise reflection (echoes).
- Sit comfortably, but with good posture. Slouching or leaning over can cause you to draw short, shallow breathes. Consider standing to ensure good posture.
- Turn on all your recording devices and silently count to five before speaking/moving/acting. Count to five before you stop recording.
- Don’t improv. Write, practice, and read from a script. If interviewing someone, prepare them before recording.
- Test all your recordings before you move on to editing. Listen with headphones to hear accurately.
 Schedule time in our studio
View equipment checkout process and policies
3. Edit (post-production)
Now you are ready to bring it all together. Editing is done using special software on a computer or mobile device. All the Digital Media Suite computers come equipped with Audition, which is part of the Adobe Creative Cloud (Adobe CC). Check out the link below for more information on Adobe CC and other editing programs.
Getting Started with Adobe Audition
- How to record audio with Adobe Audtion
- Adjust the volume of a clip or piece of a clip
- Exporting your final audio file
Important info about editing:
- On average, people spend about 1 hour editing at a computer for every 2 minutes of final produced audio.
- Keep all your recordings in the same folder on an external drive.
- Normalize your audio before you export. This creates a constant volume for your video.
- Wear headphones while editing to hear your audio clearly.
- Do not submit your Audition or Audacity project file. You have to export an audio file (mp3 or wav) or your instructor will not be able to listen to it.
Make a Reservation for Editing Time